Preserving a moment in time - how to press flowers

I remember pressing flowers, within the pages of a heavy book, when I was a child. However, with a busy career in education, I didn’t start pressing flowers again until recently.
Flowers are things of beauty. Unfortunately, once cut, they are with us for only a short period of time. By pressing a flower, we can preserve its shape and form - an everlasting memory of a moment in time.
When I started to rediscover the pleasure of pressing flowers, I did quite a bit of research into the best techniques. It’s really rather simple and it’s relatively inexpensive to get started.
What you will need:
Freshly picked flowers or foliage.
A flower press or some heavy books.
Blotting paper (this can be reused time and time again).
Card (this can be reused time and time again).
A cloth.
I started off with an A4 flower press that I purchased online (you can use some heavy books if you don’t have a flower press). When the flower press arrived, I realised that it would be easy to make. I now have a number of handmade large flower presses made out of two pieces of wood.
If you decide to make your own flower press you will need:
Two pieces of wood (I use MDF or plywood).
Bolts.
Wing Nuts.
Washers.
Making a Flower Press:
Cut both pieces of wood to size.
If using smaller pieces of wood drill four holes. The press in the image below has six holes due to its larger size.
Add the bolts, washers and wing nuts. It’s that simple!
Pressing Flowers:
Step 1:
It is best to pick your flowers in the morning and press them on the same day. If you press flowers that are past their best, they will continue to deteriorate when pressed and they are more likely to lose their colour. Make sure you keep the flowers in water until you are ready to press them. I avoid flowers with large heads, such as roses, as they often end up mouldy in the press due to the amount of moisture. I tend to select flowers with interesting shapes. I have found the most success with flowers such as Violas, Nigella, Poppies, Buttercups, Sweet Peas, Larkspur, Jasmine, Nasturtiums and Ferns.
I love pressing large Ferns - they look lovely in A3 black matt aluminium frames. I have a number displayed in my house and I am in the process of creating some framed pressed Ferns to sell on my web shop (coming very soon!).
Before placing the flower in the press, wipe the moisture off the stem with a cloth.

Pressed Poppy
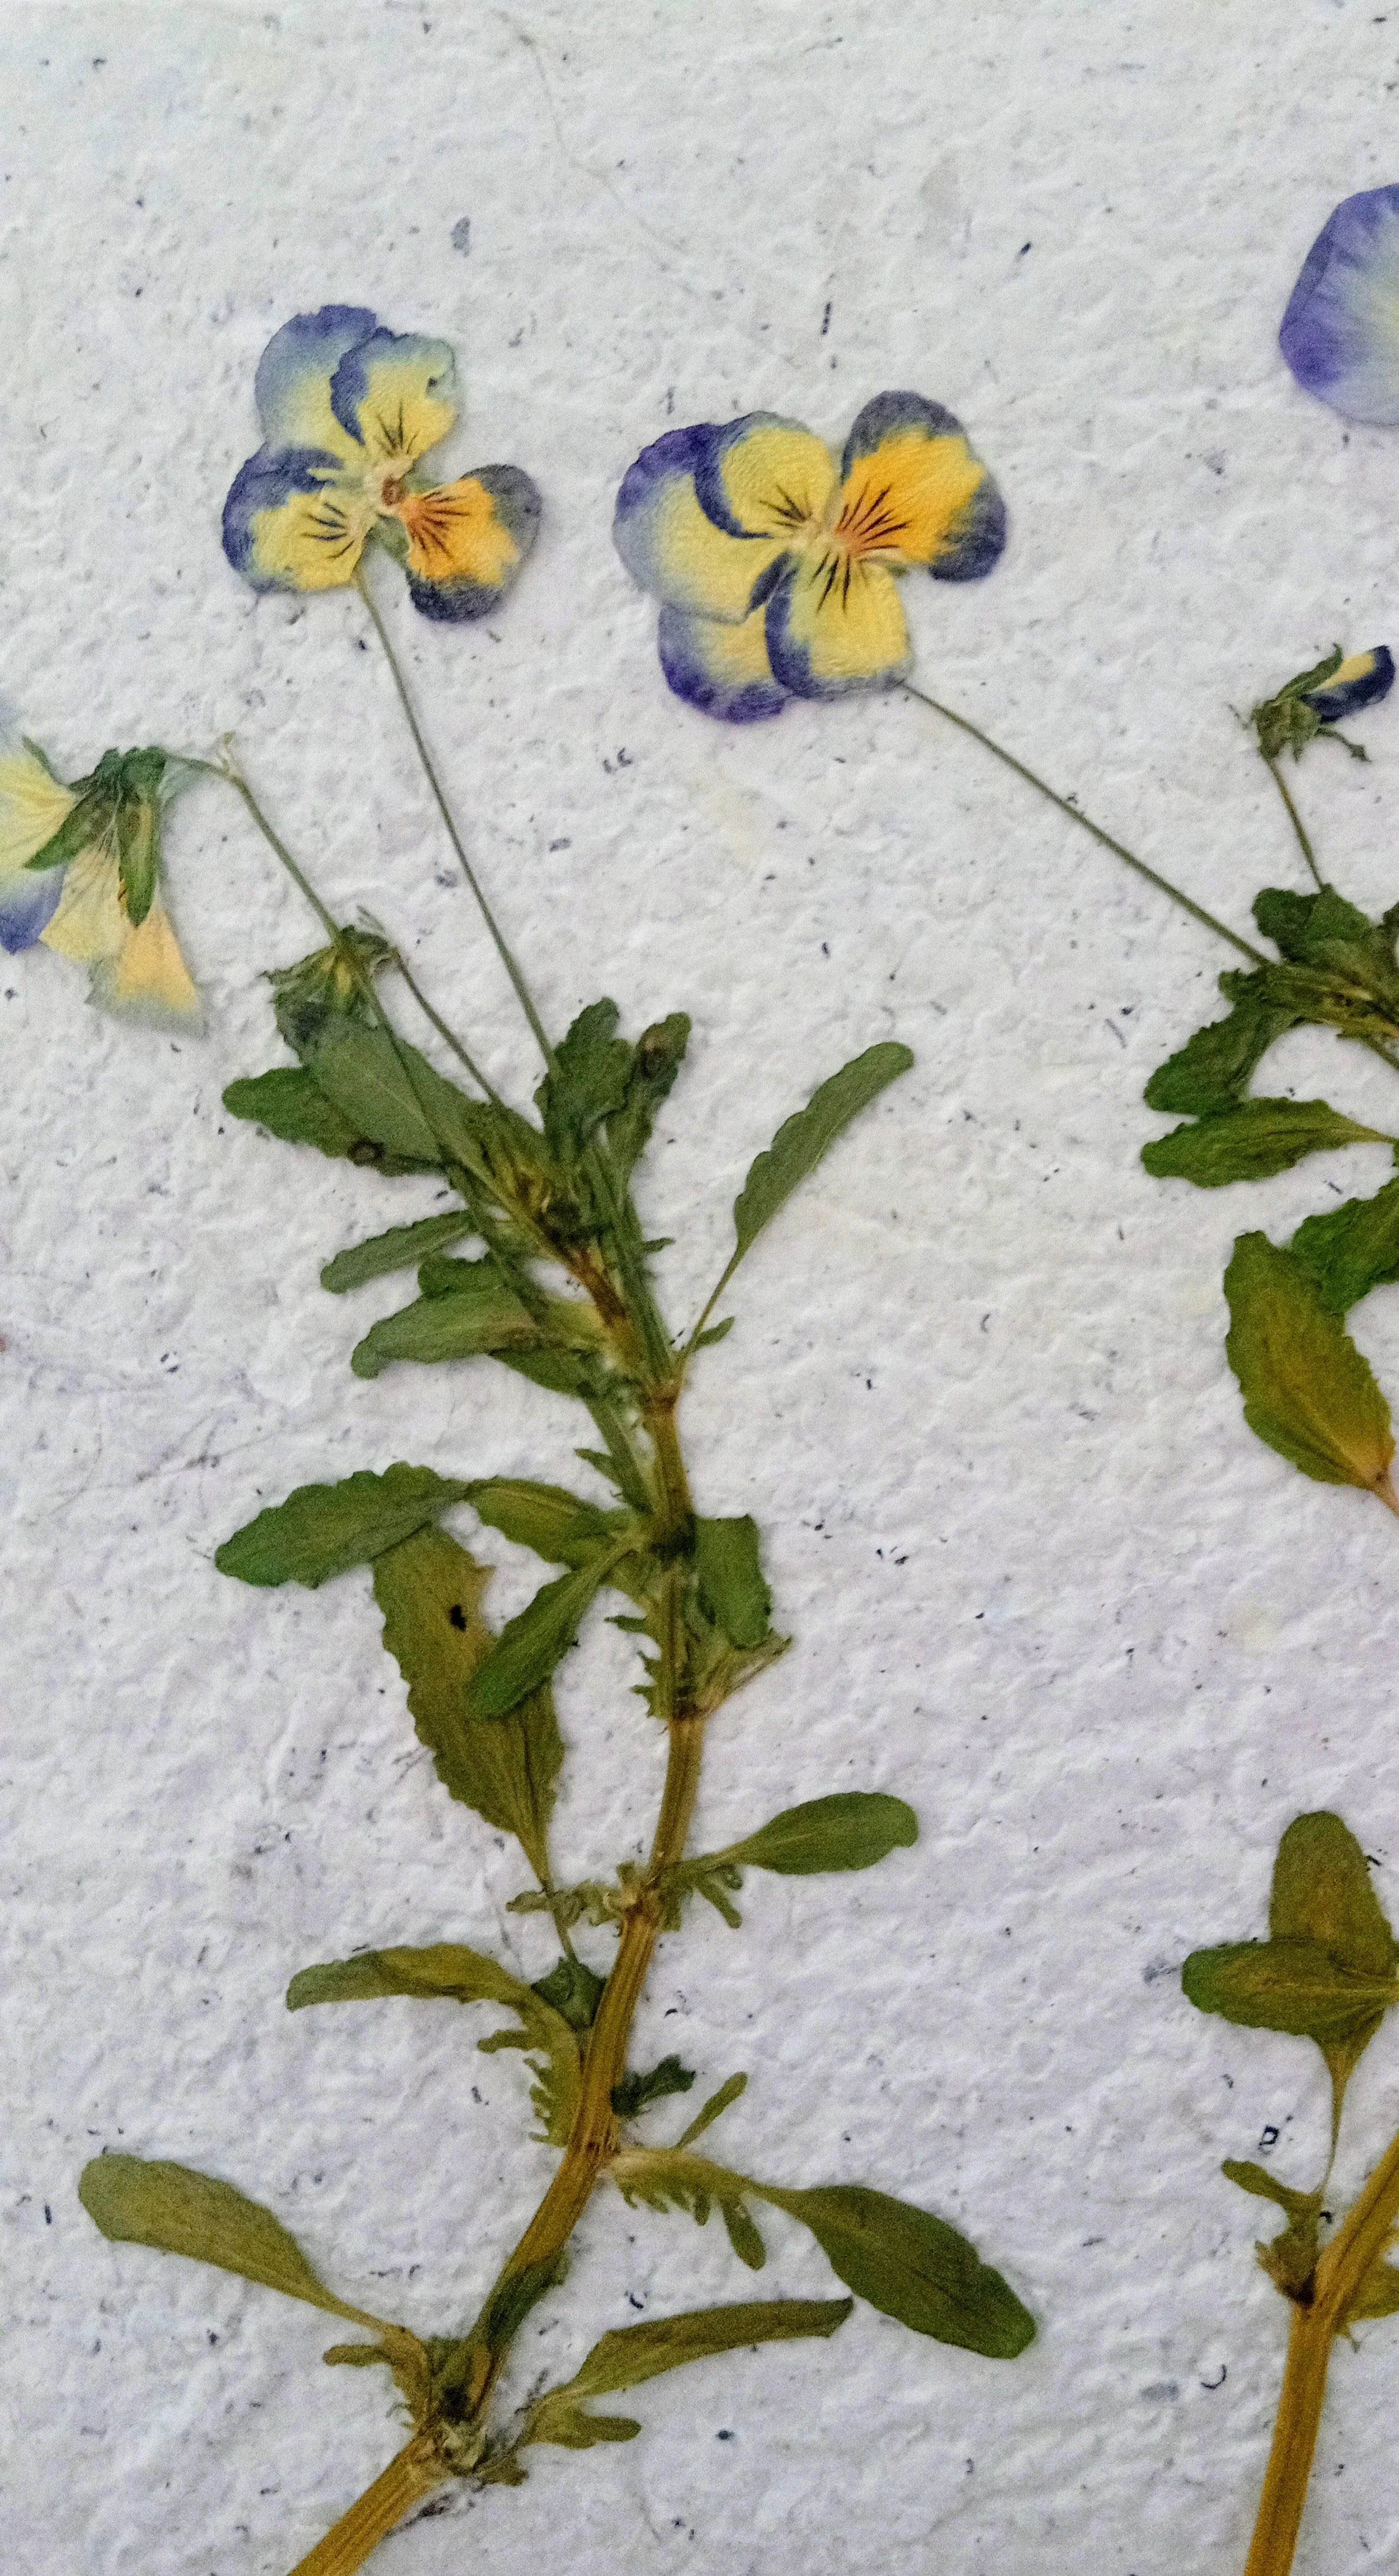
Pressed Violas
Step 2:
Place a sheet of card in the press and place a piece of blotting paper on top of the card. Lay your flower on top of the blotting paper. You can carefully manipulate the flower into a position that you are happy with.

Pressing Nigella. Make sure the stems are inside the blotting paper. In the image above, I had to cut one of the stems with a pair of secateurs to ensure the stem was inside the paper.
Step 3:
Place another piece of blotting paper over the flower and press down. Peel back the paper slightly to check the flower has remained in the position that you have placed it in. Check all stems and leaves are inside the paper and press down on the blotting paper.
Step 4:
Add another layer of card and position the blotting paper on top. Then add another flower, a piece of blotting paper on top and another piece of card Continue this process until your press is full.
Step 5:
Close your flower press and tighten the wing nuts to ensure that the press is shut securely. Place your flower press somewhere free of moisture and away from the cold.
Depending on the flowers you select, it takes between two to four weeks to press a flower.

A large handmade flower press
Step 6:
After approximately one week, open your press and check the flowers. Reposition the flowers if you find that the blotting paper is damp underneath. Remove any flowers that are mouldy. I normally check the press again after another week.
Step 7:
Once your flowers are ready (they will feel papery) remove them from the press. You can store them in your press if you are not using it to press more flowers. I place my pressed flowers on some card within a plastic wallet. I then store them in a cupboard until I am ready to use them for a project. Make sure to keep your pressed flowers free from moisture.
There are lots of projects you can do using pressed flowers - I am currently using my pressed flowers to create gift tags!

Pressed flower gift tags
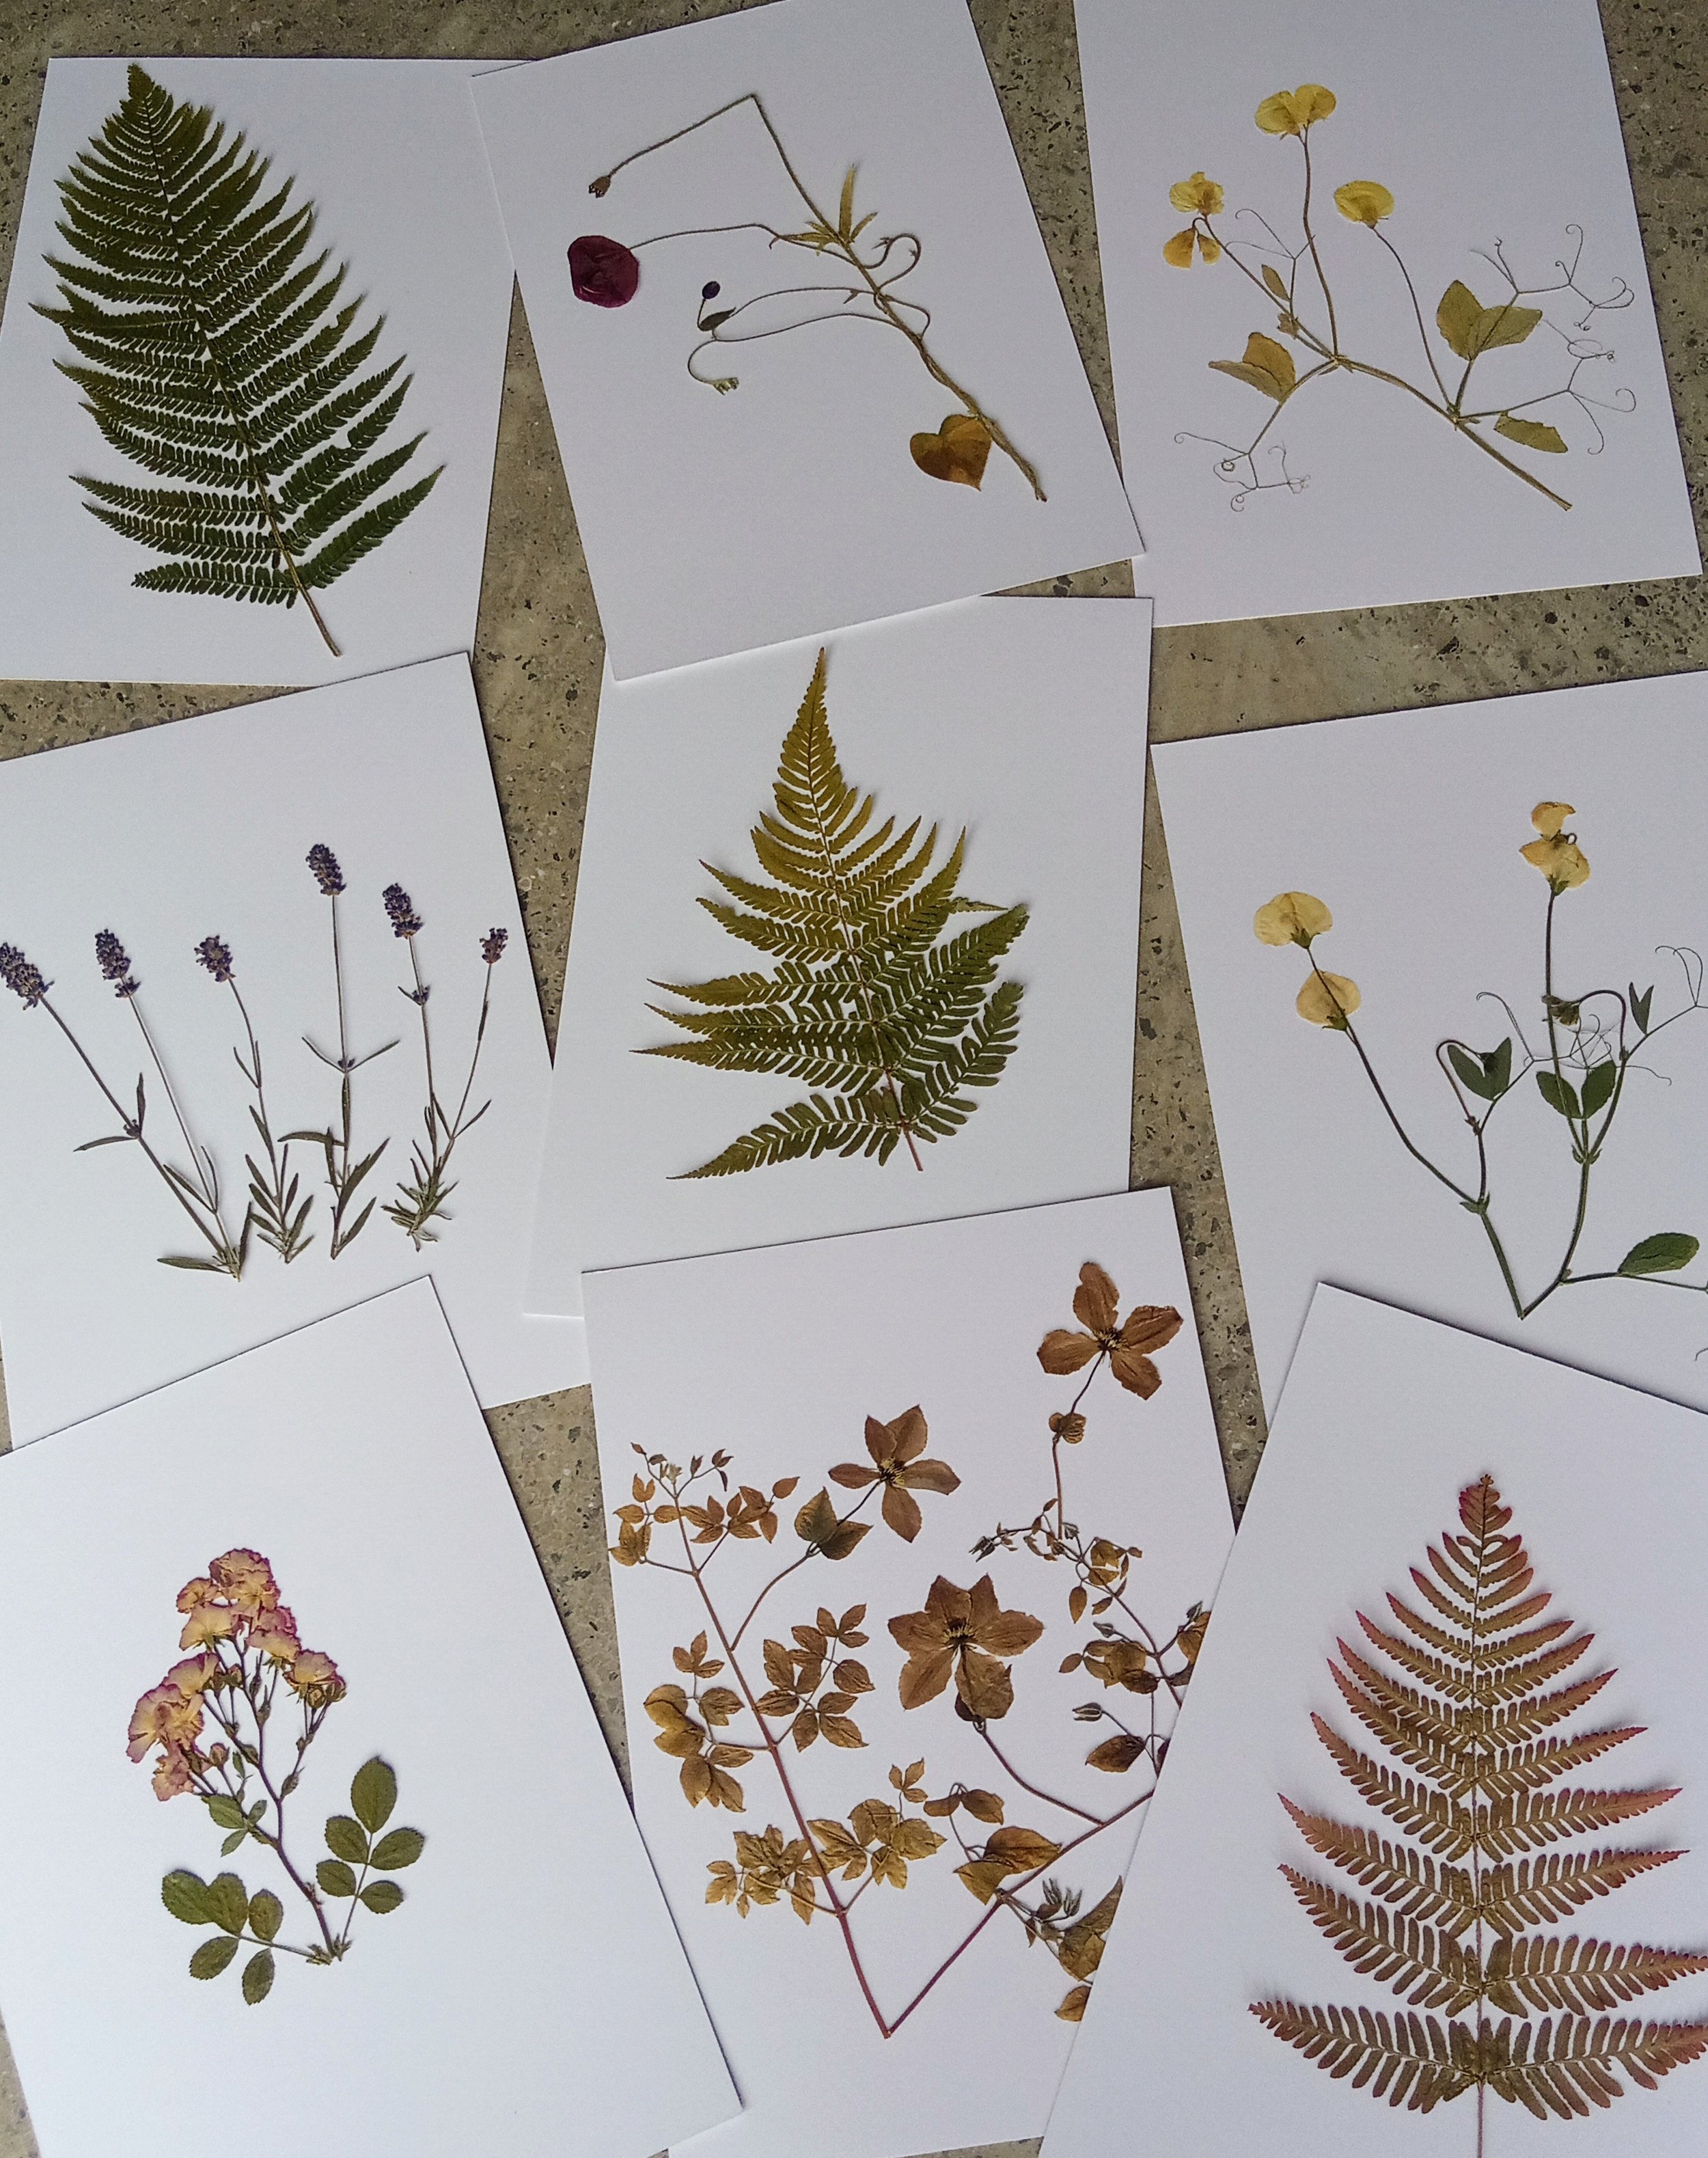
A selection of pressed flowers and Ferns, ready for mounting on A3 mount boards