A Floral Pumpkin Arrangement for Halloween

This is a really simple and cost-effective arrangement for Halloween.
You will need:
A few different sized pumpkins (I bought these from a local farm shop).
Some containers to insert inside the pumpkin (I used a large yogurt pot and a luminarc jar).
Chicken wire.
A kenzan (Flower Frog).
Some pot tape or twine.
Seasonal flowers and foliage (I used alstroemerias, chrysanthemums, dahlias, roses, hydrangeas, smoked bush, bracken, ivy, beech)

Step 1:
Buy different sized pumpkins. I bought the smaller pumpkins from M&S and the larger pumpkins from a local farm shop.
Step 2:
Cut a hole in the top of the pumpkin and scoop out the inside. For the larger pumpkin, I measured around the yogurt tub that I was using as a container.

Step 3:
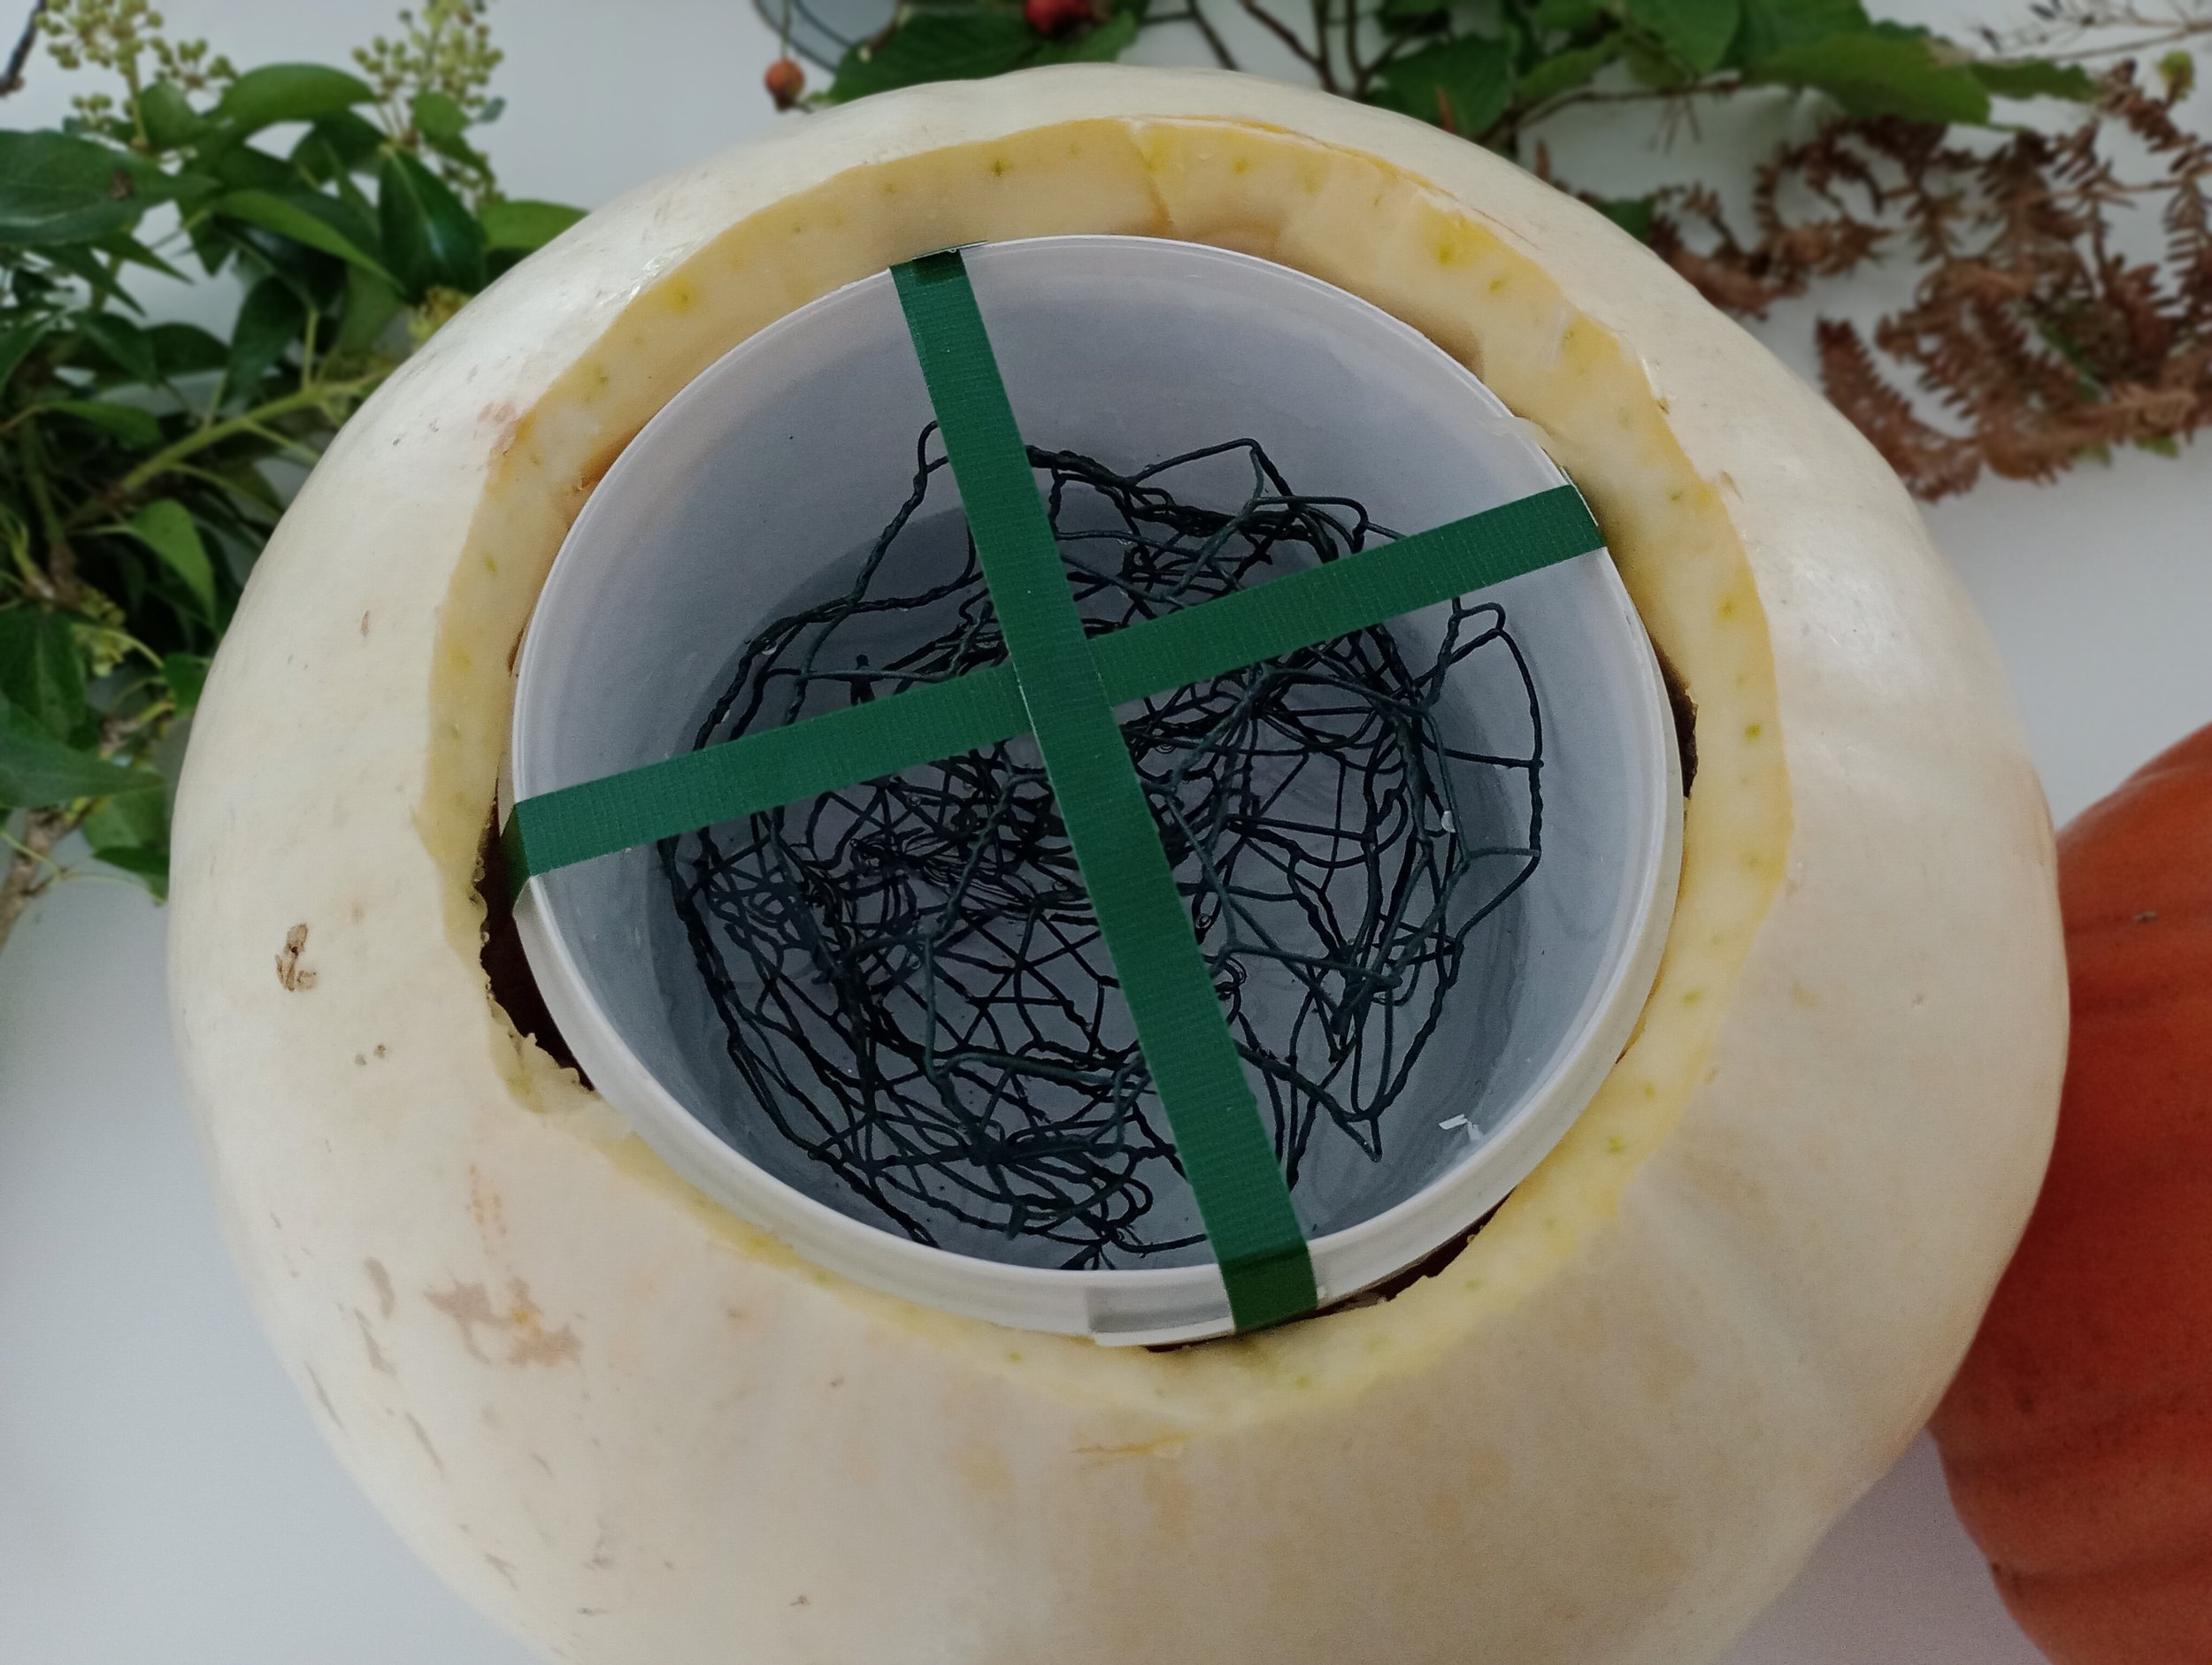
Prepare the containers. As you can see from the image below, I used a large yogurt pot for the larger pumpkin and a luminarc jar for the smaller pumpkin. You can use any type of container that will fit inside the pumpkin, as long as it can hold water - milk cartons cut down to size, jam jars etc.
I then inserted chicken wire into both containers, instead of using floral foam. Floral foam is damaging to the environment whereas chicken wire can be reused. I also added a kenzan (flower frog) to the luminarc jar. I used pot tape to secure the chicken wire to the yogurt pot for extra stability (you can also use twine, reel wire or paper covered wire). The containers can also be reused time and time again.

Containers with chicken wire
Step 4:
Prepare your flowers and foliage. I used a mixture of bought and foraged finds. I found ivy, bracken, grasses and beech from a walk around my local area.
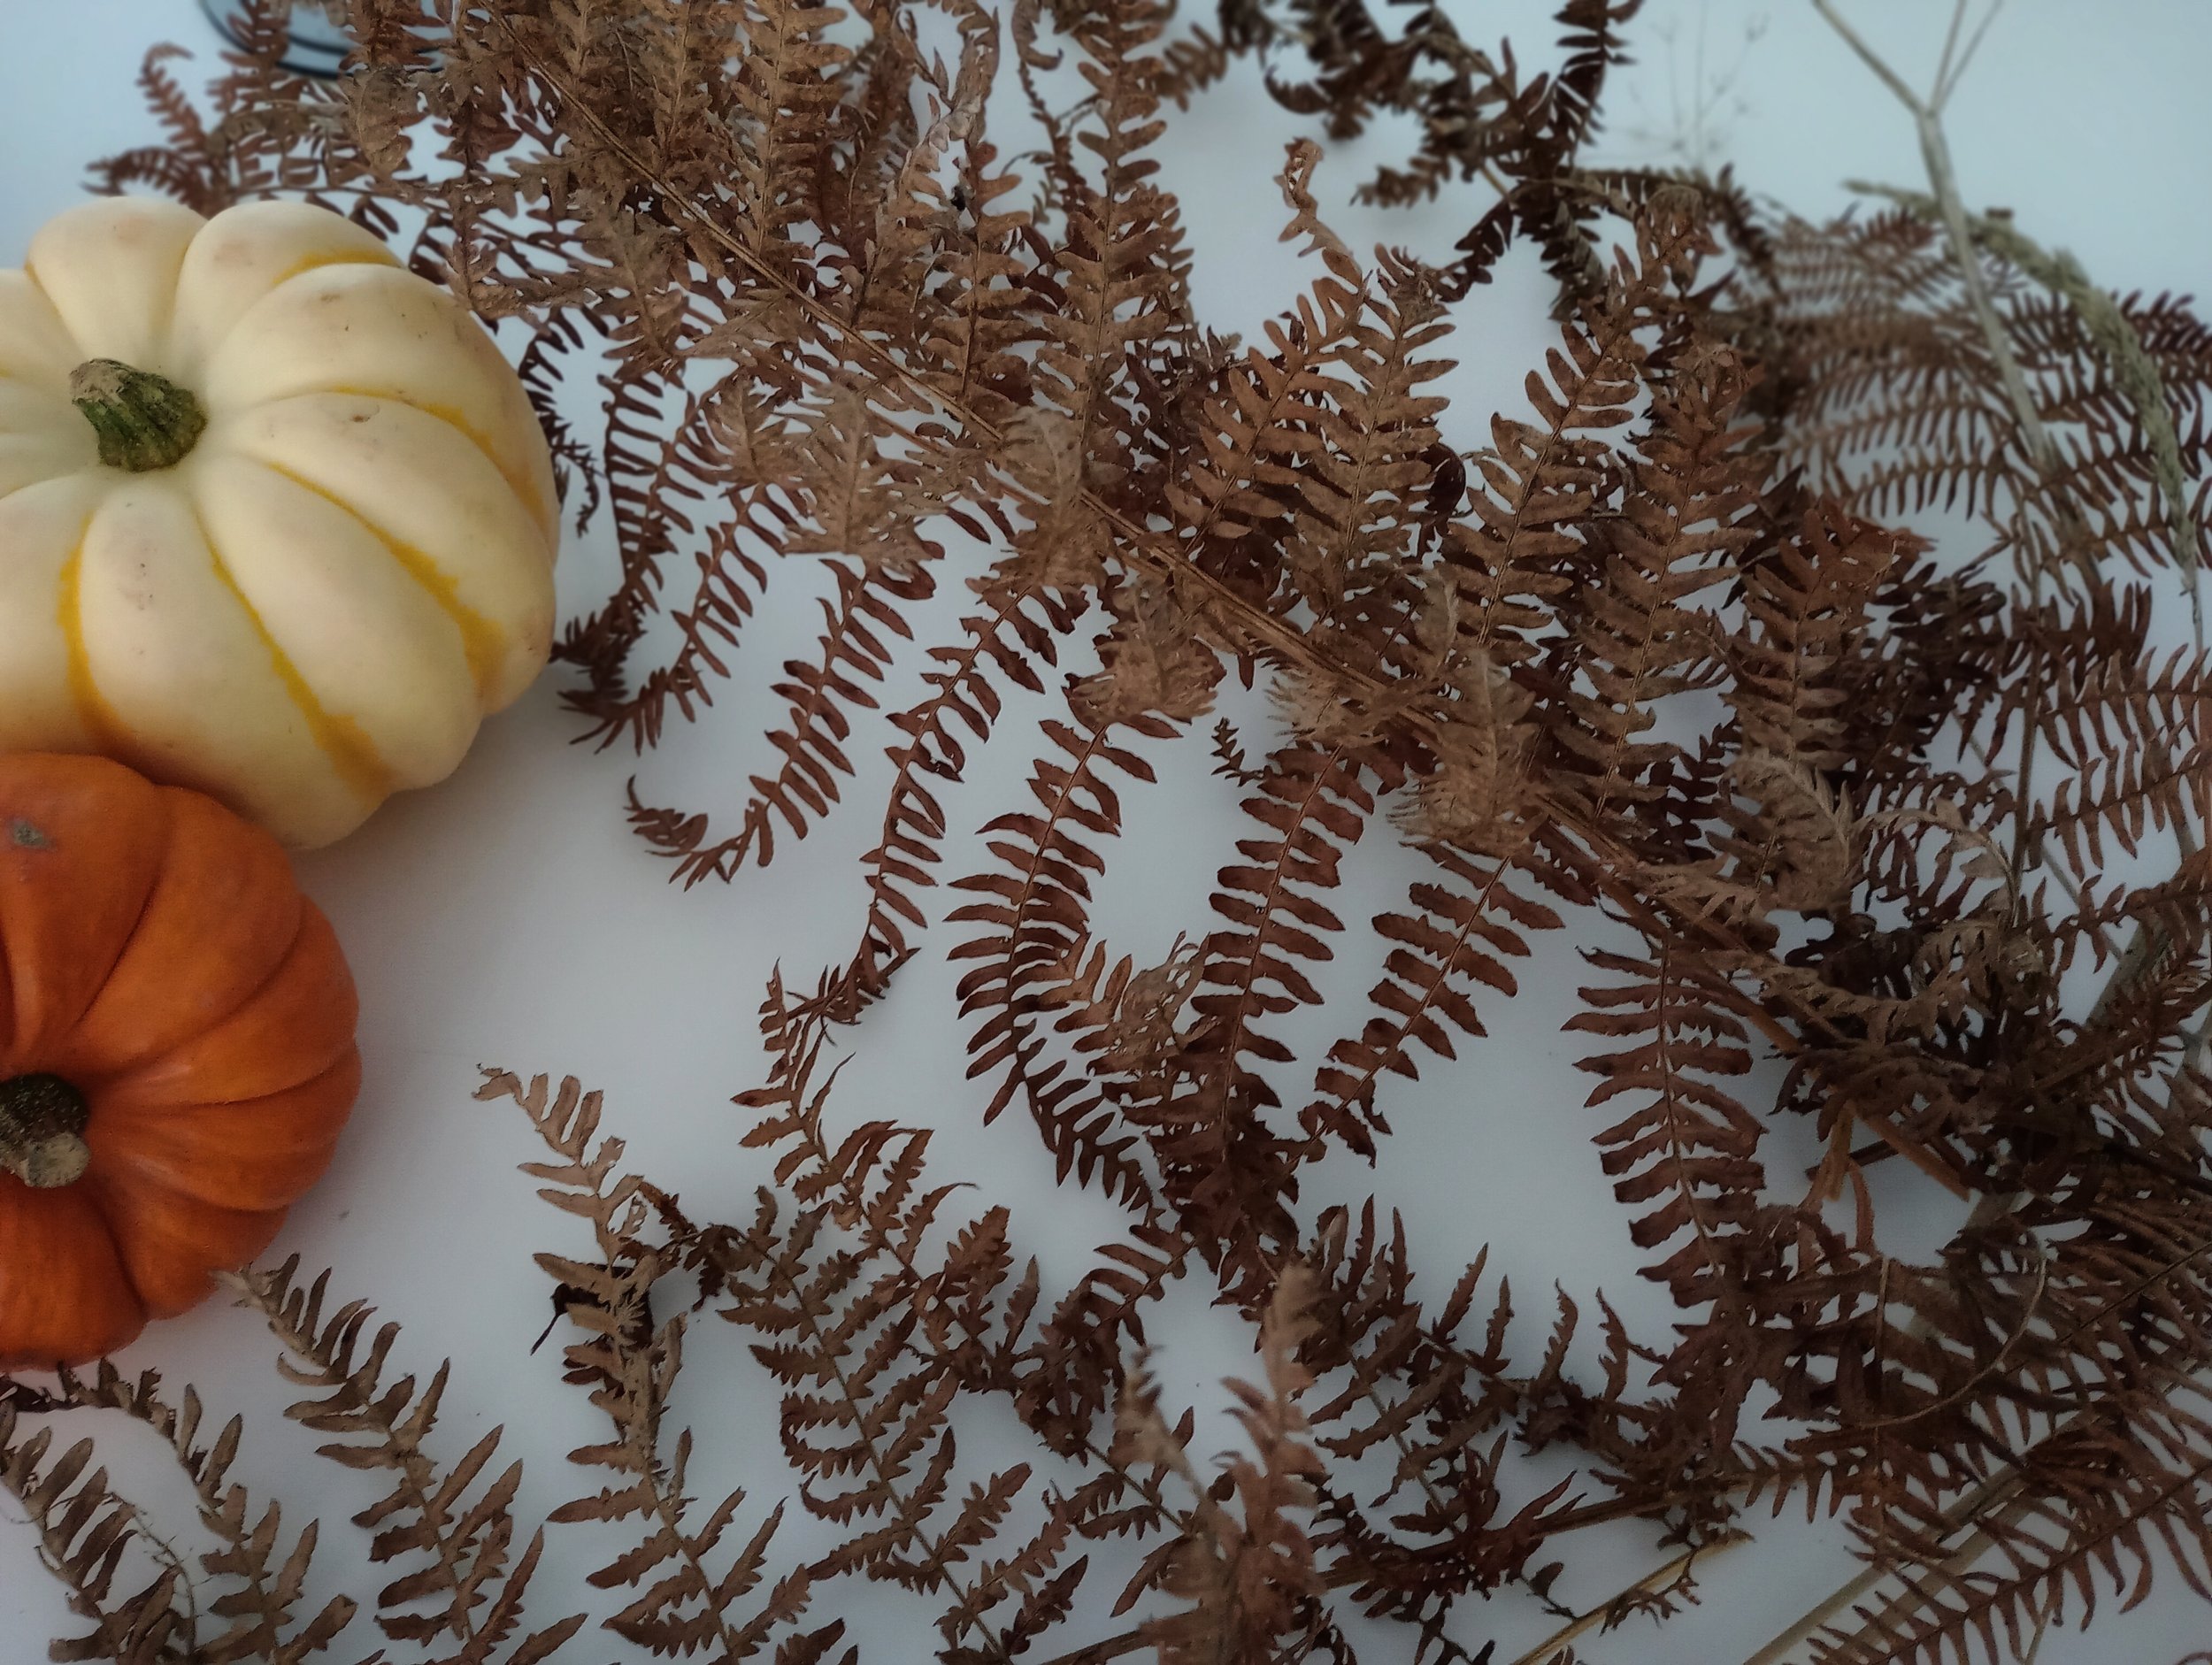
Foraged Bracken

Foraged Foliage

Flowers - condition overnight (see previous journal on conditioning flowers)
Step 5:
Insert the containers into the pumpkins and don’t forget to add water to the containers!
Larger pumpkin with large yogurt pot
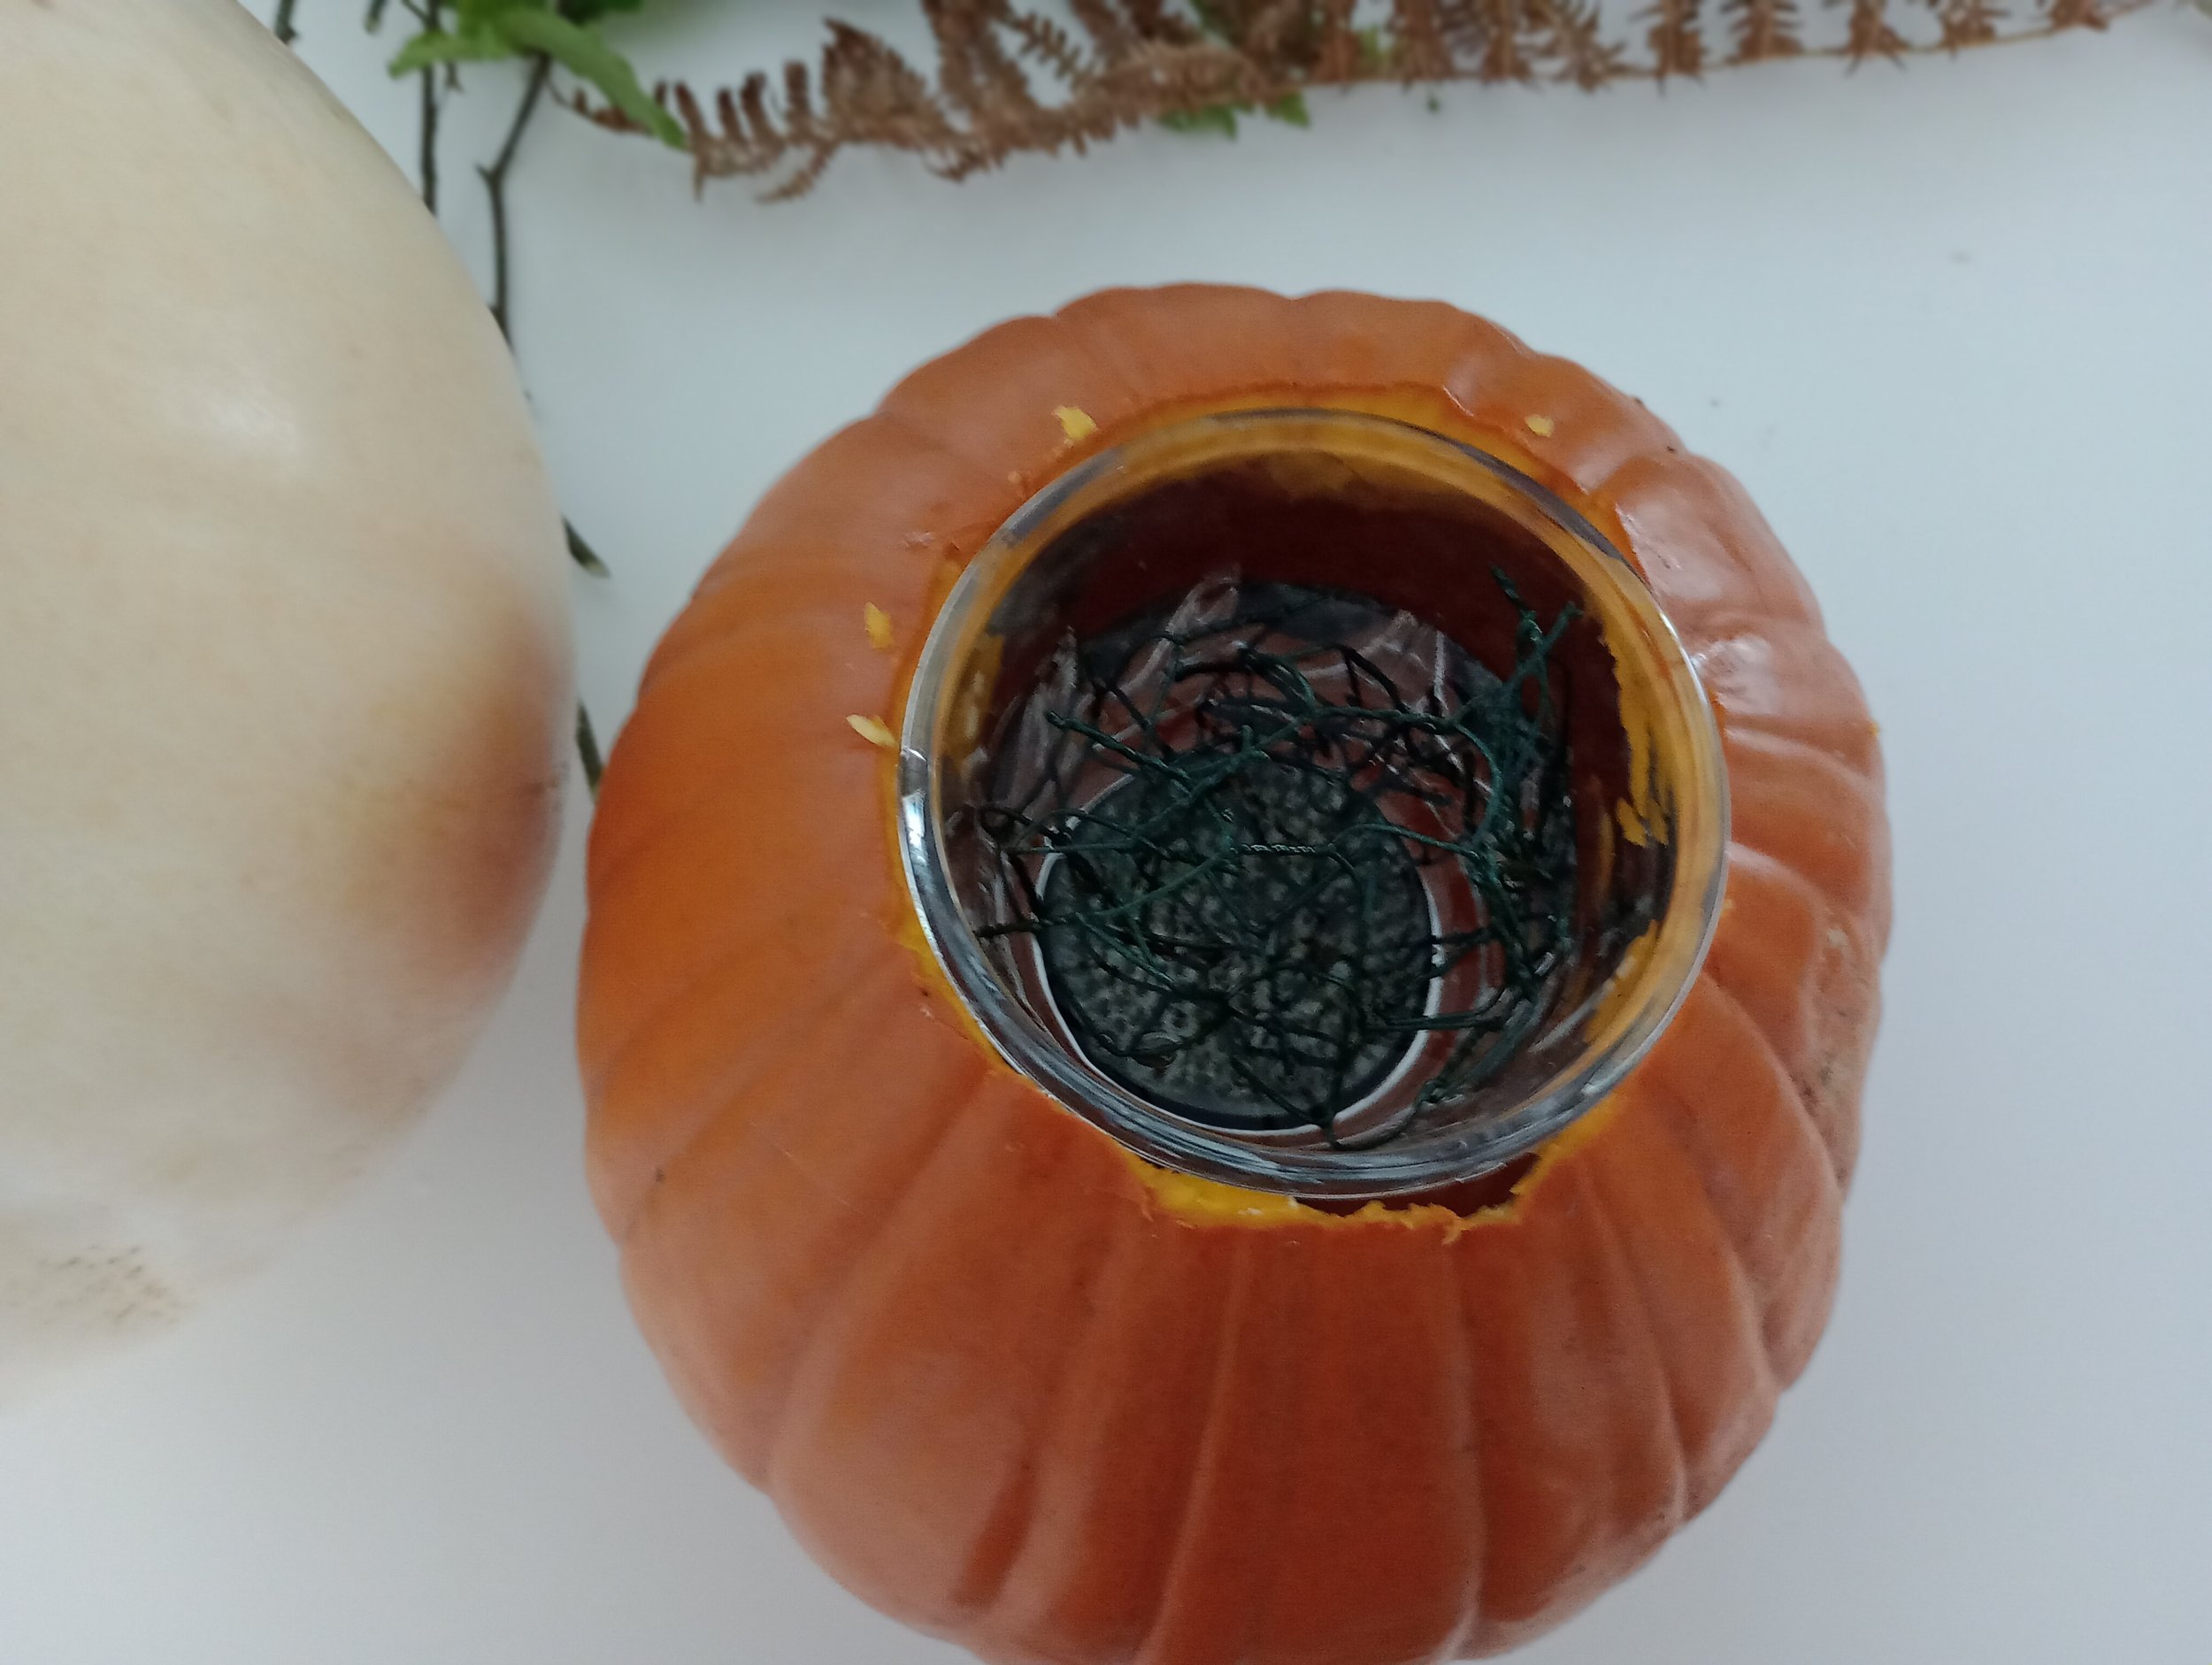
Smaller pumpkin with luminarc jar
Step 6:
Add the foliage first to create a structure. Then add your flowers. Keep turning your pumpkin to insert the flowers. I added the larger blooms first and the smaller blooms last.
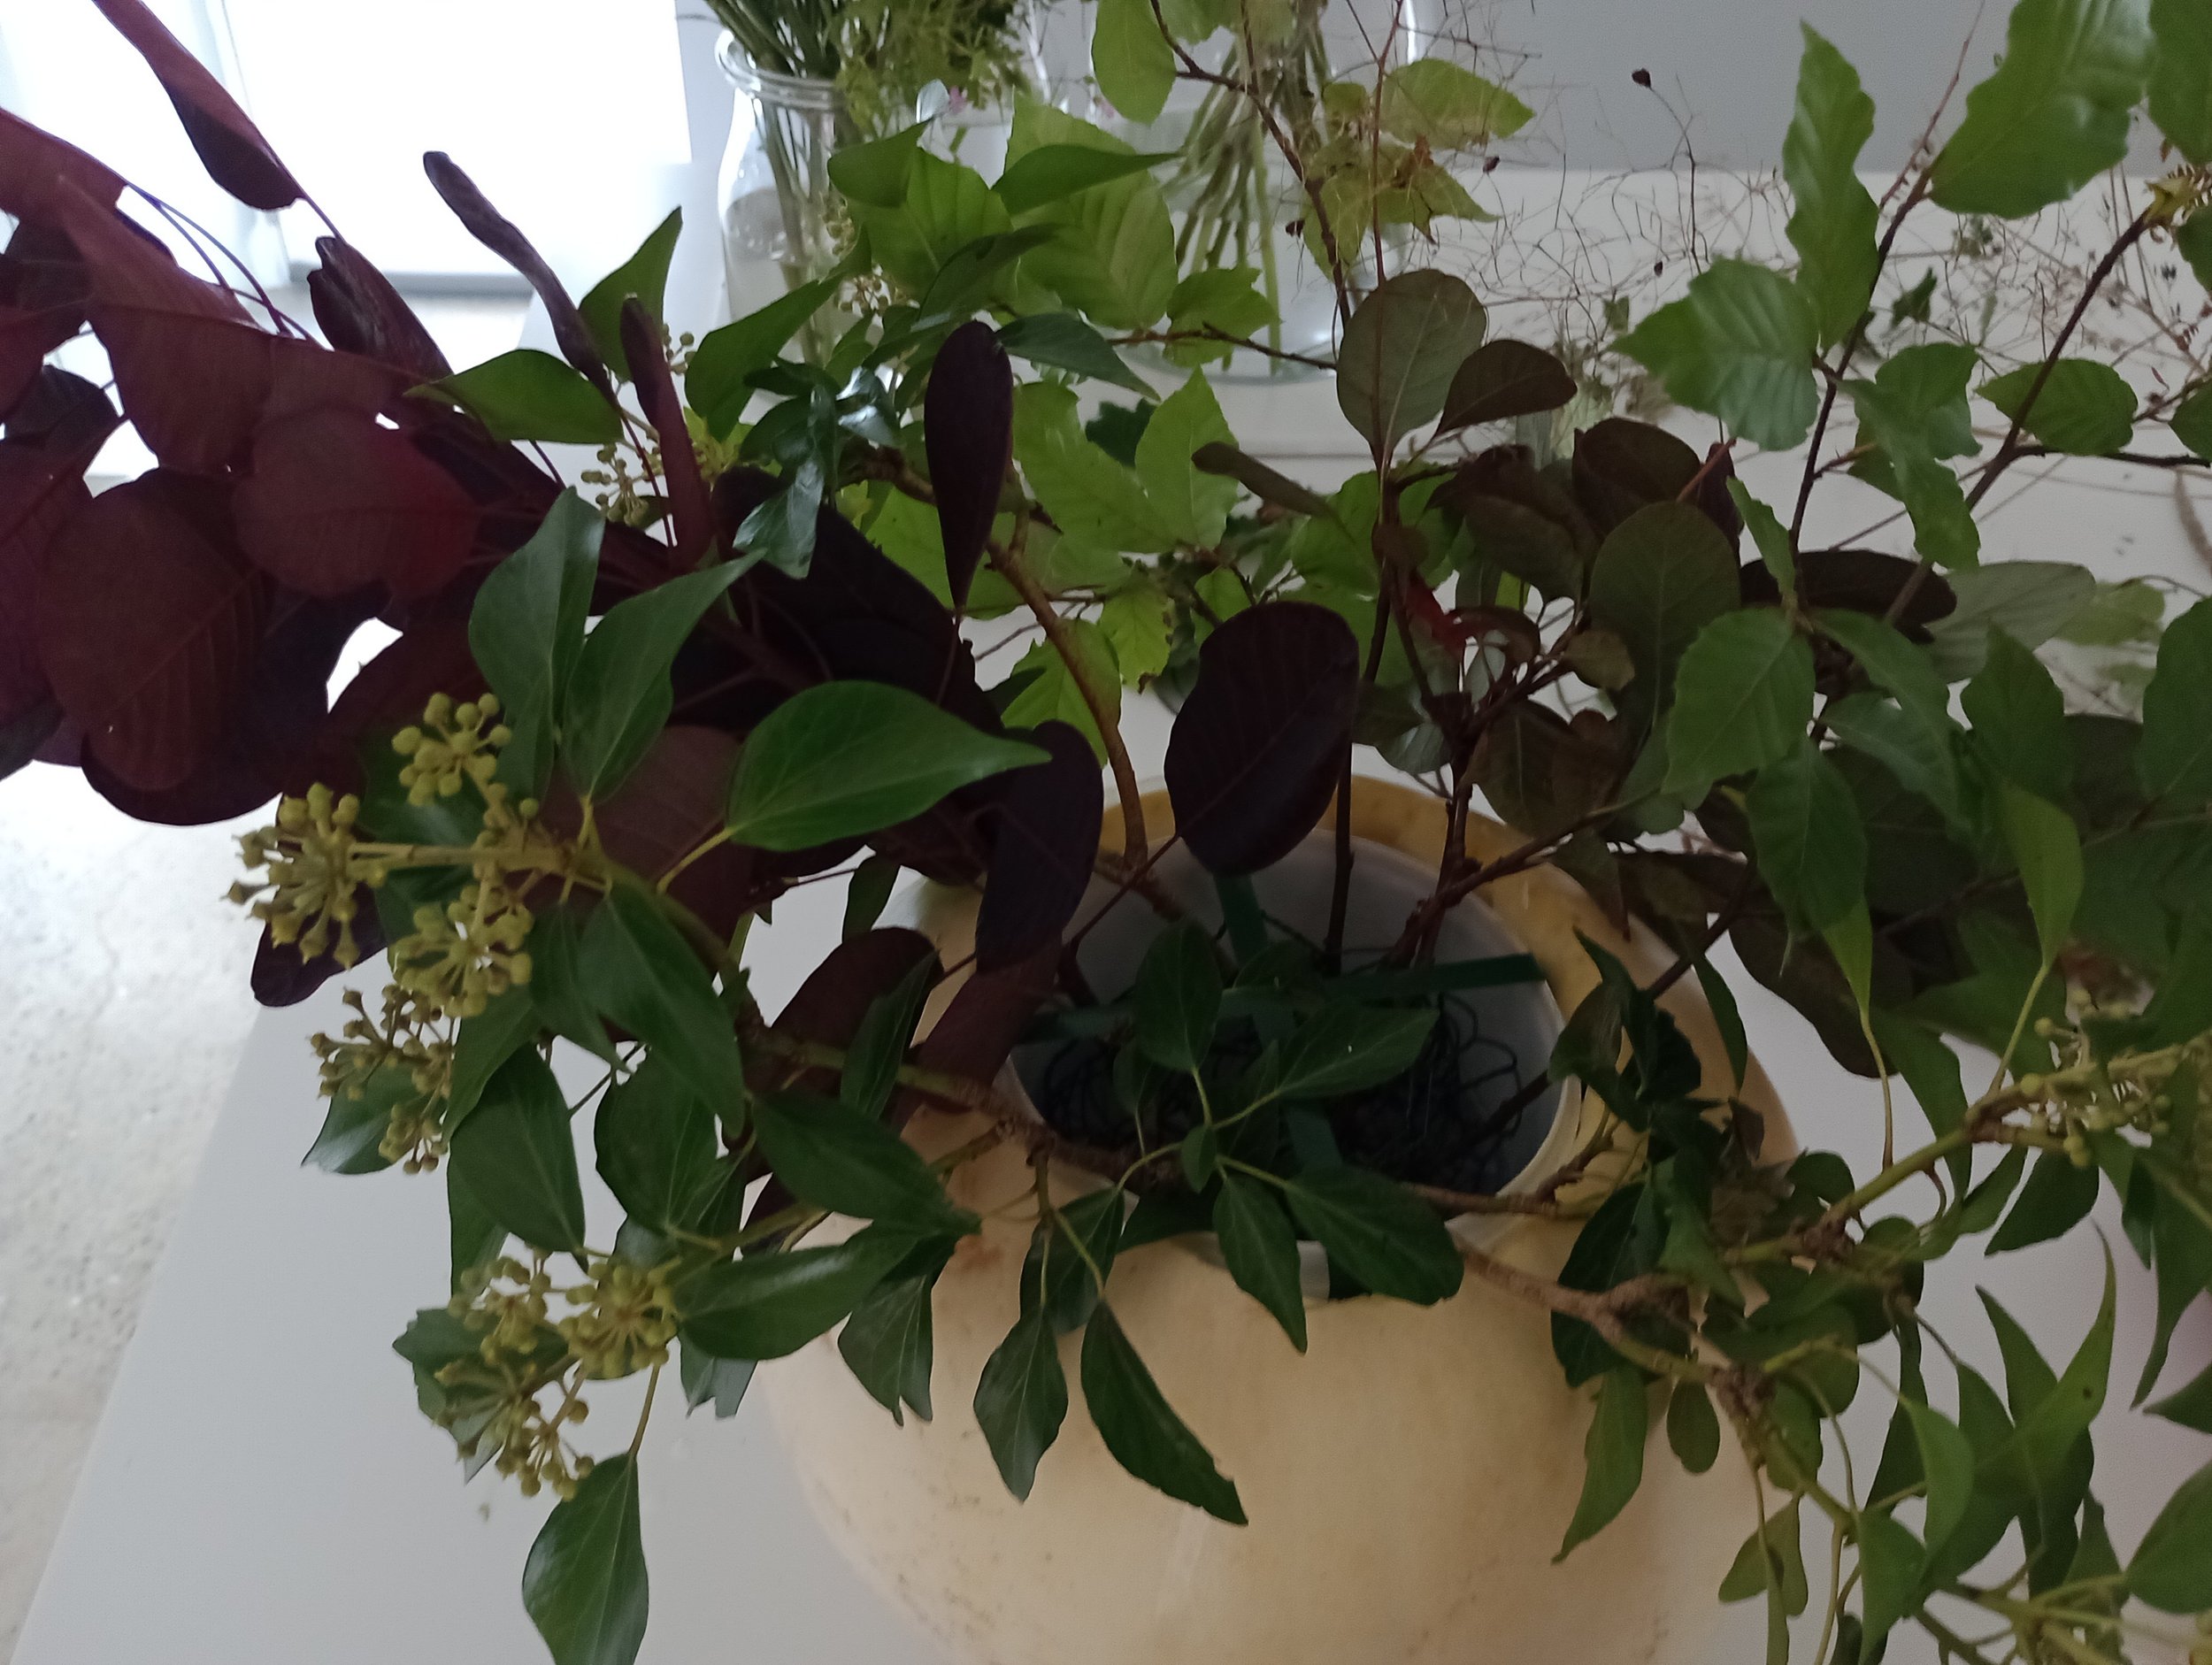
Start with the foliage to create an initial shape and structure

Add the larger blooms first
Step 7:
Add the remaining flowers. Turn the pumpkin to ensure you are happy with your arrangement from all angles. Make sure you can’t see the container or any of the mechanics.
Step 8:
Enjoy your arrangement!
This would look lovely as a table arrangement for a Halloween meal or celebration, or outside as part of a Halloween display.
